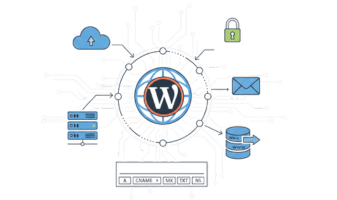
Pros and Cons of Manual vs. Automatic Migration
Most people hope they pick a hosting company strong enough that they never need to move their WordPress website to a new host. But not every hosting provider delivers the same speed, support, or features. If you end up with the wrong one, moving your WordPress website to a new host becomes necessary to keep things running well.
The good news is that migrating a WordPress site sounds harder than it really is. With a little time and patience, you can move your WordPress website without much trouble.Usually, the whole process only takes a few hours. If you switch to a better hosting provider, the effort will pay off. A faster and safer website gives your visitors a better experience.
In this guide, we’ll show you step-by-step how to move your WordPress website without any hassle. We will also share the best migration tools to save your time. If you prefer expert help, Creation Wave LLC offers professional WordPress migration services to make the process stress-free.
Should I Migrate My WordPress Site Manually or Automatically?
Moving a WordPress website is not too hard. If you choose to do it by hand, you must know how to use FTP, manage databases, and update files from your old site.
While these steps sound tricky, they are easy when you follow a clear guide.If you’re looking for a quicker option, you can use a WordPress migration plugin to do the job. Later in this post, we will share some of the best tools for smooth migrations.
For bigger websites, using plugins sometimes leads to mistakes. In these cases, it’s smarter to migrate your website manually by following each step closely.
Also, many hosting companies offer free site migration when you sign up. You can also hire experts to do it for you, but it often costs a lot. To make the move stress-free and affordable, Creation Wave LLC offers reliable WordPress migration services.
How to Migrate Your WordPress Site Manually
Migrating your WordPress site manually is not hard when you follow a clear path. Let’s start step by step.
Step 1: Choose a New WordPress Host
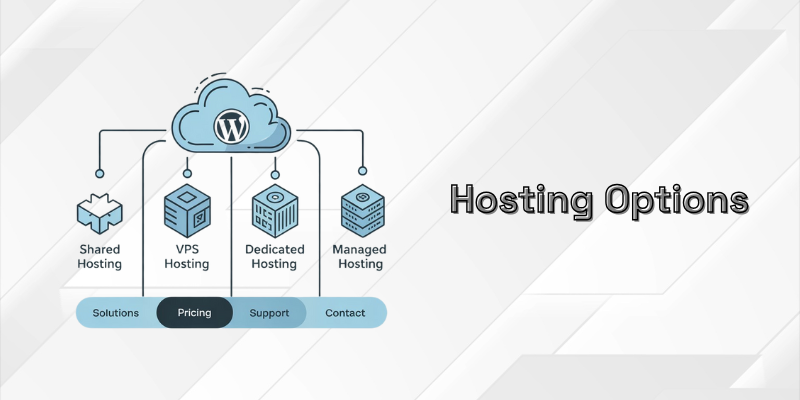
If you’re planning to move your WordPress site to a new host, you probably have some reasons for leaving your current one. As you look for a new one, remember the problems you faced before. For example, if your site got hacked, you should find a host that offers strong security. It’s also important to understand the types of hosting available:
- Shared Hosting: Many websites share one server. This is the cheapest option but offers fewer resources.
- VPS Hosting: Your site gets its own space on a server, even though the server is shared. It offers better performance than shared hosting.
- Dedicated Hosting: It means your website has a whole server to itself. This works best for big or busy websites.
- Managed Hosting: Any plan where the host handles technical jobs like backups and updates for you.
Before you pick a host, think about what matters most for your website. Focus on things like security, storage space, site speed, and customer support. For example, if you run a large online store, you should place extra focus on security. Creation Wave LLC can also help you choose the best hosting for your needs, making sure your WordPress website runs smoothly after the move.
Key Terms to Know Before Starting Your Migration
Before you begin your website migration, it’s helpful to understand a few common terms you’ll come across in this guide: old host, current host, new hosting account, new hosting server, and new domain. Whether you’re moving a WordPress site from one host to another, point to your new domain, or switching providers with a free migration service, these phrases will appear often.
If you’re moving to a new provider, you may choose to install WordPress manually or use a plugin. Many migration plugins can transfer a live site quickly, but for large projects, manual migration may be safer. Some hosts even offer a free migration when you sign up, making the process even easier.
When you migrate your WordPress website or migrate a WordPress website to another host, you’ll often see terms like WordPress site migration, WordPress migration plugins, and way to migrate a WordPress. You might move WordPress site to another location, change your site to a new domain, or even manually migrate a WordPress site through the WordPress dashboard.
During the process, always keep a backup of your site or backup of your WordPress website before you move to a new host. If you’re migrating to a new environment, you may need a WordPress plugin for faster transfer. Once you’re ready to migrate, make sure your site on the new host is fully functional, and don’t forget to point to the new domain settings. Whether you’re on a new host using cPanel or another tool, these steps are essential for a smooth migration.
Step 2: BackUp Your WordPress Site Files
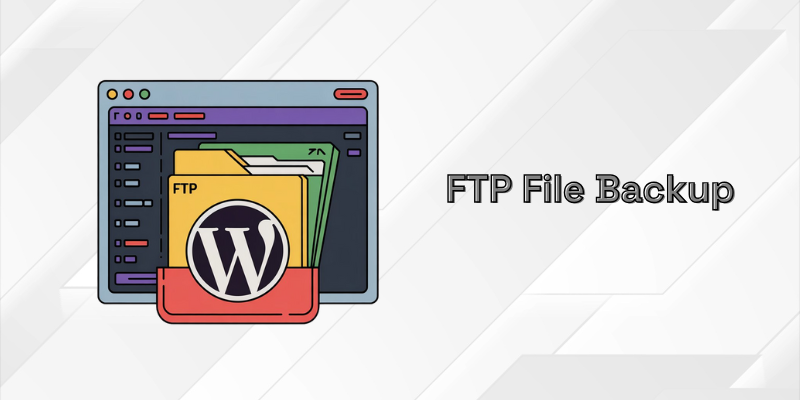
Start by creating a complete backup of your website files. Use an FTP tool to transfer the files and ensure everything is saved securely. If you don’t have one yet, FileZilla is a good free option to use.
Once you connect to your site’s server through FTP, find the WordPress root folder. The root folder is typically named public_html, www, or it may carry your website’s name. Right-click on the root folder and select “Download.” This will copy all the files from your WordPress website to your computer. Depending on your site size, the download may take some time. Once the download is complete, you can proceed to the next step.
Creation Wave LLC always recommends maintaining a secure backup of your WordPress site before making any significant changes.
Step 3: BackUp Your WordPress Database
After saving your WordPress website files, the next step is to back up the database. Your database holds all the important details about your website, such as content, settings, and user accounts.
To begin, log in to your hosting control panel. If your host uses cPanel, look for the Databases section and open phpMyAdmin. This tool lets you handle and export your WordPress database safely and quickly.
Step 4: Export Your WordPress Database
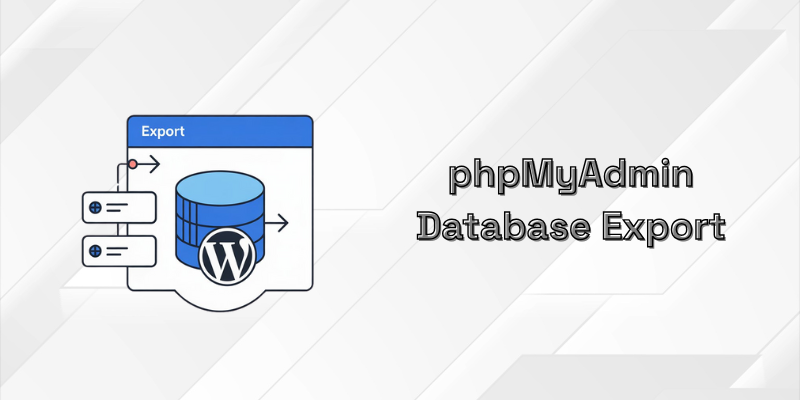
Inside phpMyAdmin, select your website’s database from the list on the left.Then click the Export tab at the top menu.Next, click the “Export” tab in the top menu. Choose Quick under Export Method, and press Go.
This step will download a backup of your WordPress database in a .sql file format to your computer.
Step 5: Create a New SQL Database and Import the Old One
Now, set up a new database with your new hosting provider. After that, you will upload the database file you just saved.
If your new hosting plan uses cPanel, here’s what to do:
- Open cPanel and head to the Databases section. Click on MySQL Databases.
- Create a new database and assign a user to it. Write down the database name and username for later.
- Open phpMyAdmin again and find your new database.
- Navigate to the “Import” tab and upload the .sql file you saved earlier.
That’s it! Now your old WordPress database lives on your new server. You still need to upload your website files to fully complete the move.
If you signed up with a host that doesn’t use cPanel, the steps may differ. For example, if you are moving your site to Creation Wave LLC’s hosting, you can use the simple migration checklist inside your User Portal. It walks you through everything you need to safely move your website.
Step 6: Upload Your WordPress Site Files to the New Web Host
First, connect to your new server using an FTP client. Once you log in, open the root folder where your WordPress site files will go.
Right-click inside that folder and choose Upload. Find the folder you downloaded earlier, open it, and select all the files and folders inside to upload.
This upload can take some time because there are lots of files. Stay patient, and soon you’ll be ready to move to the next step.
Step 7: Edit Your WordPress Site’s wp-config.php File
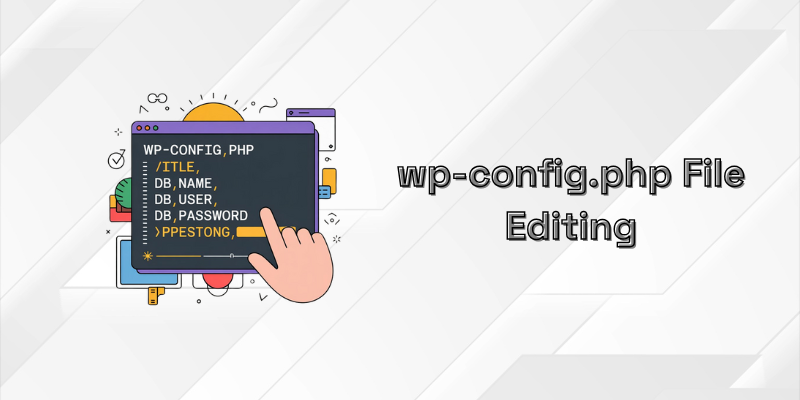
Once your files are uploaded, you need to edit the wp-config.php file. Without this update, your WordPress website will not connect to the new database.
Find the wp-config.php file in your new root folder. Right-click on the wp-config.php file and choose “View/Edit” to open it in your text editor.
Now, update these three lines with the details from your new database:
define(‘DB_NAME’, ‘db_name’);
define(‘DB_USER’, ‘db_user’);
define(‘DB_PASSWORD’, ‘db_pass’);
Replace the old database name, username, and password with the new ones you created earlier.
Save the file and close the editor. Once done, your WordPress site should load correctly on the new server, just like it did before. If you used hosting from Creation Wave LLC, their support team is also ready to help if you need it.
Step 8: Configure and Change Your DNS
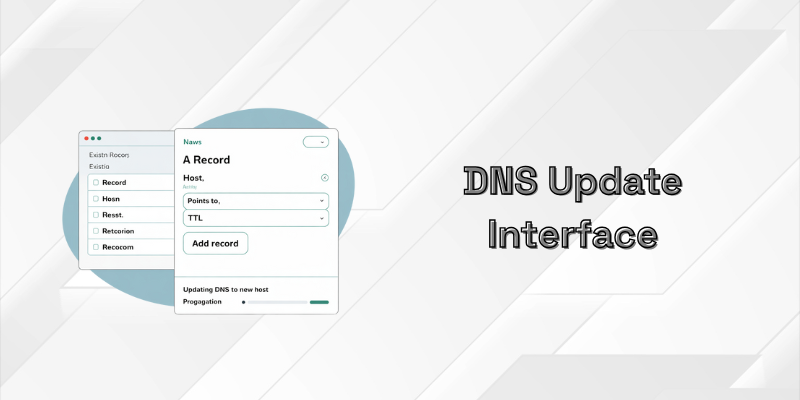
The final step is to point your DNS (Domain Name Server) to your new host. If you’ve moved your WordPress site to a hosting plan like WP Engine, this is when you’ll update your DNS settings.
You’ll need two things:
- Details from your new host.
- Access to the registrar where you bought your domain.
You can find the DNS information in your WP Engine User Portal. Go to the “Domains” section and scroll down to the “DNS Details” area. Here, you’ll see both a CNAME Record and an A Name for your site.
Once you have this information, log into your domain registrar’s account. The process to update your DNS will vary depending on where you bought your domain, but most registrars offer easy-to-follow guides. If you need help, we’ve put together instructions for common registrars to make the process smooth.
cPanel Alternatives
Not all web hosts use cPanel, the popular control panel that simplifies tasks like database management, backups, and FTP connections. If you’re using a hosting provider that doesn’t offer cPanel, you’ll need to adapt your migration process. While it may seem more complicated, it’s still possible to migrate a WordPress site effectively. Below are some common non-cPanel environments and how you can migrate your site.
How to Migrate WordPress Site Without cPanel
1. FTP Access Without cPanel
Many hosting providers still offer FTP access to your files, even if they don’t use cPanel. You can still connect to your site via FTP using tools like FileZilla or Cyberduck to download your WordPress files.
- Step 1: Use your FTP credentials provided by your hosting provider. These are often found in your hosting account dashboard, or you can contact support if you’re unsure where to locate them.
- Step 2: Connect to your server and download the public_html (or equivalent) folder containing all your website files.
- Step 3: Once downloaded, you can upload these files to your new hosting environment using the same FTP credentials for your new server.
2. Database Management Without cPanel
Without cPanel, database management is often done through custom control panels or third-party tools. Here’s the process for exporting and importing your WordPress database:
- Step 1: Log in to your hosting provider’s control panel (or custom dashboard) and find the MySQL database management tool. Some hosts provide phpMyAdmin, while others might have their own database tools.
- Step 2: Export your WordPress database as an .sql file (you can usually find an export or backup option within the database tool).
- Step 3: Set up a new database on your new hosting provider (you may need to create a new MySQL database through their dashboard).
- Step 4: Import your database by using the import option in the new database management tool, similar to phpMyAdmin.
3. Migrating WordPress Sites on Hosts Without a Control Panel
For hosting environments that don’t offer a control panel at all (for instance, some managed WordPress hosting providers), you might have to rely entirely on FTP for file transfers and manual database management. Some hosts offer a custom-built migration tool or may offer direct migration services for a small fee. It’s worth checking with your hosting provider to see what tools they offer.
How to Migrate Your WordPress Site With a Plugin
Migrating your WordPress site can be a little nerve-wracking since you don’t want to lose anything important. Luckily, using a WordPress migration plugin can make the process a lot easier.
These plugins act like an insurance policy. They can back up your entire site, so you don’t lose anything, and they often offer recovery options if needed. Plus, some plugins allow you to move only certain parts of your site, giving you control over what gets transferred.
Tools for Migrating WordPress Sites Easily
Manual migration is a good skill to have, but there are tools that can make the process quicker and simpler. Here are some of our top recommendations:
All-in-One WP Migration: Quick and User-Friendly
All-in-One WP Migration is a popular plugin for easy and efficient WordPress migrations. It enables you to export your entire site, including the database, media files, plugins, and themes, with just a few clicks. The import process is also straightforward. You can drag and drop the exported file into a new WordPress installation. The plugin automatically performs find-and-replace operations on the database during the migration process. While the free version has file size limits, premium extensions can lift these restrictions and add cloud storage options.
UpdraftPlus: Backup and Migrate with Ease
UpdraftPlus is primarily known as a backup plugin, but it also offers powerful migration features. With the UpdraftPlus Migrator addon, you can easily clone or migrate your WordPress site to a new location. You can back up your site to remote storage like Google Drive, Dropbox, or Amazon S3, and then restore it elsewhere. UpdraftPlus makes the process easy and reliable, and it’s especially useful if you want both backup and migration in one solution.
WP Migrate: Efficient Tools for Site Migration
WP Migrate Lite is an excellent tool for migrating your WordPress site. It helps you export all the necessary files to set up your site in a new environment. The easy-to-use interface lets you choose exactly what you want to export. In just a few clicks, you’ll get a ZIP file containing your entire site, ready to be migrated. You can even import this ZIP file into Local and have your site up and running in minutes.
Additionally, WP Migrate Lite can find and replace content in your database, including handling serialized data. This makes it easier to migrate your database without worrying about corrupting any data.
For more advanced users, WP Migrate Pro offers additional features. You can push and pull files (including media, themes, and plugins) between two installations. It also supports multisite and integrates with WP-CLI.
WPvivid Backup Plugin
The WPvivid Backup Plugin is perfect for both migrating and backing up your WordPress site. It supports both automated and manual migrations. You can upload a backup to a new site and restore it easily. Best of all, it’s completely free and doesn’t have any size restrictions, making it a great option for migrating large sites.
Important Checks When Migrating a WordPress Site
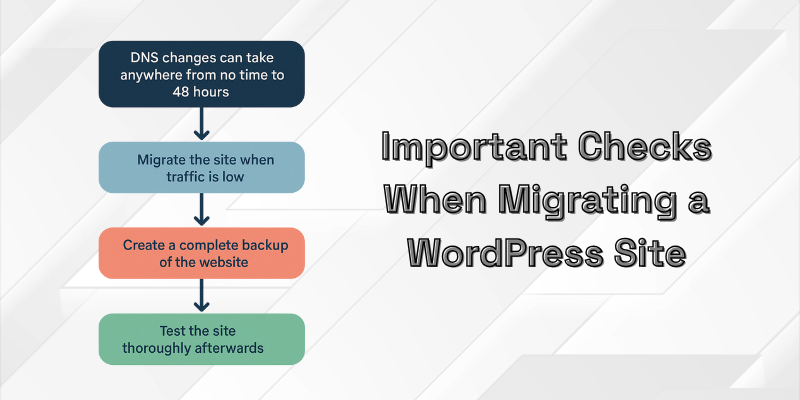
- DNS Propagation Time: Changing the nameservers or updating the ‘A’ record in DNS can take anywhere from a few minutes up to 48 hours, depending on your domain registrar and TTL settings.
- Low Traffic Timing: Schedule the migration during off-peak hours when your site has the lowest visitor activity to minimize disruption.
- Full Backup: Always take a complete backup. Including files, database, and any server configurations before starting the migration.
- Backup Verification: After taking the backup, verify it by restoring it temporarily on a staging environment to ensure it’s not corrupted.
- Update Site URLs: If the domain or directory is changing, plan for a search-and-replace in the database to update site URLs.
- Maintenance Mode: Put the site in maintenance mode before migration to avoid broken transactions or lost data during the switch.
- Plugin/Theme Compatibility: Make sure all plugins and themes are compatible with the server environment of the new host.
- PHP and MySQL Versions: Check that the PHP, MySQL/MariaDB versions at the new server match your site’s requirements.
- SSL Certificate Readiness: Ensure you have an SSL certificate ready for the new server, or plan to re-issue it immediately after migration.
- Check Email Configurations: If you’re using SMTP settings or transactional emails, update DNS records like SPF, DKIM, DMARC after migration.
- Caching & CDN Settings: Clear cache and update any CDN settings (e.g., Cloudflare) if you use external caching or delivery services.
- Test Before Going Live: Always test the migrated site on a temporary URL or hosts file modification before updating DNS to ensure everything works.
- Prepare Rollback Plan: Always have a rollback strategy ready in case anything goes wrong during or after migration.
Conclusion
Migrating your WordPress site to a new host doesn’t have to be overwhelming. Choose to do it manually or with a plugin, the process is manageable if you follow the right steps. Back up your site before you begin, pick the right hosting provider, and take the necessary time to ensure everything works smoothly after the move. If you find the process tricky, Creation Wave LLC offers professional migration services to help.
Following this guide ensures your website maintains its performance, security, and SEO rankings throughout the migration process.


